What Does the Solar Installation Process Look Like? From Assessment to Activation
Going solar can feel like a big decision, especially when you don’t know what happens after you decide to move forward. What does a solar installation actually involve? How long does it take? Who handles the permits and inspections? And when do you finally start generating your own electricity?
The good news is that the process is more straightforward than many homeowners and businesses expect. From the initial property assessment to system design, permitting, installation, inspection, and activation, each stage has a clear purpose.
Step 1: Solar Property Assessment
The solar installation process starts with understanding the property itself. A solar property assessment helps determine whether the site is suitable for solar and what type of system would work best for the property’s energy needs.
During the assessment, a solar professional evaluates factors such as the roof’s condition, size, orientation, and available sunlight. They may also look for shading from trees or nearby buildings that could affect how much electricity the panels can produce.
Your property’s energy consumption is another important part of the assessment. Reviewing recent electricity bills helps determine how much power you typically use and provides a starting point for estimating the size of the solar system you may need.
The electrical system and available space for equipment may also be reviewed. If battery storage is something you’re considering, the assessment can help determine whether it makes sense to include energy storage as part of the project.
The goal isn’t simply to determine where solar panels can fit. It’s to understand how solar can work for your specific property, energy usage, and long-term goals. The information gathered during this stage becomes the foundation for designing a solar system that is practical, efficient, and appropriately sized.
Step 2: Solar System Design
Step 3: Financing & Project Approval
Once your solar system has been assessed and designed, the next step is deciding how you’ll pay for the project and approving the final plan.
For many homeowners and businesses, the upfront cost of solar can feel like the biggest barrier to getting started. Fortunately, you don’t necessarily have to pay for the entire system upfront. Depending on your circumstances, financing options may be available to help spread the cost over time.
Some customers choose to purchase their solar system outright. Paying upfront can eliminate financing costs and means you own the system from the beginning.
Others prefer to finance their solar installation and make payments over an agreed period. This can make it easier to move forward without putting the entire project cost down at once.
At Star Solar Energy, we help qualified customers explore available financing options through our financing partners so they can determine which approach makes the most sense for their property and budget.
Before approving the project, you’ll typically review the proposed system and its expected costs. Your proposal may include:
- Recommended system size
- Number and type of solar panels
- Estimated energy production
- Equipment and installation costs
- Available incentives or savings opportunities
- Financing terms, if applicable
- Expected project timeline
- Warranty information
This is an important stage to ask questions and make sure you understand exactly what you’re agreeing to.
Once you’re comfortable with the system design, costs and payment arrangement, you can approve the project.
From there, the solar provider can move forward with the next stages, including permitting, utility requirements and scheduling the installation.
The goal isn’t simply to get you to sign a contract. It’s to make sure you understand your solar project and feel confident about moving forward.
Step 4: Permits & Utility Approvals
Before your solar system can be switched on, it usually needs to pass through the required local permitting and utility approval process. This step helps ensure that your system meets applicable building and electrical requirements and can safely connect to the utility grid.
Once your solar system design is finalised, the necessary permit applications are typically submitted to the appropriate local authorities. Depending on where you live, this may involve building, electrical, or other permits. Your solar installer generally coordinates this process on your behalf.
At the same time, your utility company may need to review and approve the proposed connection. This is commonly referred to as interconnection approval. The utility reviews how your solar system will connect to the grid and establishes the requirements for safely sending electricity between your property and the utility network.
The process may include:
- Submitting permit applications to the relevant local authority
- Submitting an interconnection application to your utility company
- Reviewing the system design for compliance with applicable requirements
- Waiting for approvals before installation or grid connection can proceed
- Coordinating inspections required after installation
The exact requirements and timeline can vary significantly depending on your location, local permitting authority, utility company, and the complexity of your project.
In most cases, your solar installer manages much of the permitting and utility coordination. This means you don’t have to navigate every application and technical requirement yourself.
At Star Solar Energy, we help guide customers through the process so they understand what is happening at each stage of their solar project. Once the required approvals are in place, the project can move forward toward installation, inspection, and ultimately activation.
Step 5: Solar Panel Installation
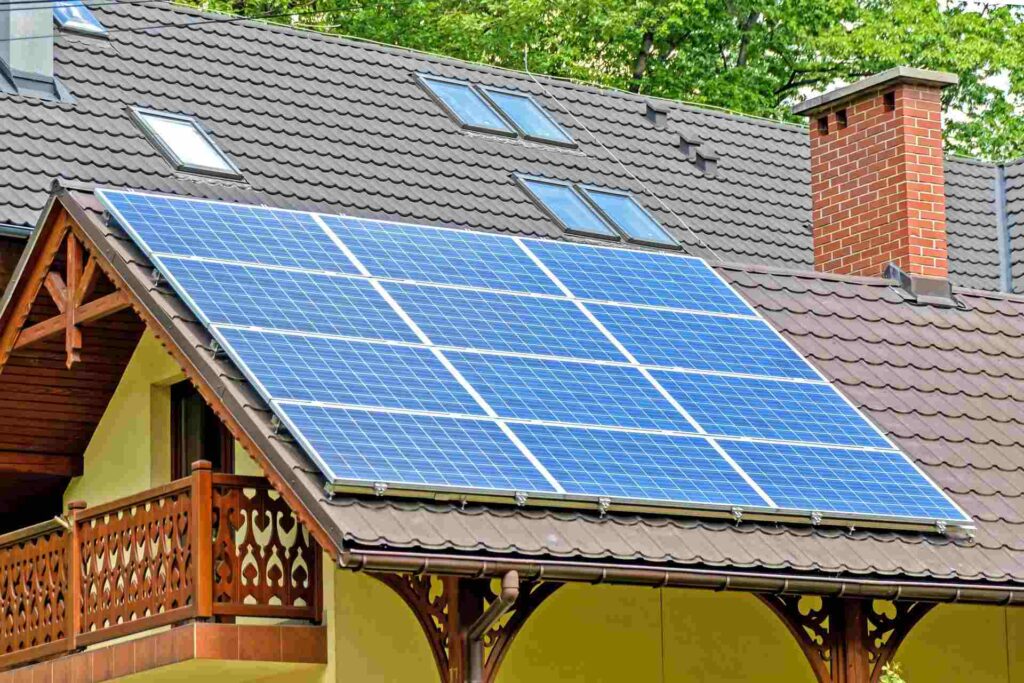
Once the necessary permits and approvals are in place, it’s time to bring the solar system to life. Solar panel installation is the stage where the equipment designed for your property is physically installed and connected.
The process can vary depending on the size and complexity of the system, the type of property, and the condition of the existing electrical system. However, a typical installation follows a straightforward sequence.
The installation team first prepares the property and confirms that the site matches the approved system design. This may involve checking the roof, electrical equipment, mounting locations, and access points. If any unexpected issues are discovered, they can be addressed before installation moves forward.
Next, the mounting system is installed. This provides the foundation for the solar panels and is securely attached to the appropriate part of the roof or, for some projects, installed as a ground-mounted system. The positioning is carefully considered to provide the panels with suitable exposure to sunlight while maintaining the integrity of the property.
The solar panels are then positioned and secured to the mounting system. The panels are connected according to the system design to create an array capable of capturing sunlight and converting it into electricity.
The installation also includes the necessary electrical equipment. This may include inverters, disconnects, wiring, monitoring equipment, and battery storage where applicable. The inverter plays an important role by converting the DC electricity generated by the panels into AC electricity that can be used by the property.
Once the equipment is installed, the solar system is connected to the property’s electrical system according to the approved design and applicable requirements.
However, installation does not necessarily mean the system can be switched on immediately. After the physical work is completed, the system may still need to undergo inspection and receive the required utility approval before it can be activated.
The physical installation itself may take anywhere from part of a day to several days, depending on the size and complexity of the project. The total solar project timeline can be longer because it also includes design, permitting, inspections, and utility approval.
Step 6: Inspection & System Approval
After the solar system has been installed, it needs to be inspected and approved before it can be fully activated. This step is designed to confirm that the installation meets applicable electrical, building, and safety requirements.
A local inspector or relevant authority may review the installation to ensure that the panels, mounting equipment, wiring, inverter, disconnects, and other components have been installed correctly and in accordance with the approved plans.
At the same time, the utility company may need to complete its own review before the system can operate as a grid-connected system. This is an important part of the process because your solar system needs to work safely alongside the existing electrical grid.
If the installation passes inspection and the required utility approvals are received, the project can move to the final stage: system activation.
If an inspector identifies an issue, it doesn’t necessarily mean the project has failed. The installer can address the required corrections and arrange for another inspection when necessary.
The timing of this stage varies by location. Some projects may move through inspection and approval quickly, while others can take longer depending on local authorities, utility requirements, scheduling, and the complexity of the installation.
Once all required approvals are complete, your solar system is ready for the final step: activation and permission to begin generating electricity for your property.
How Long Does the Solar Installation Process Take?
The total solar installation process can take anywhere from several weeks to a few months, depending on the property, system size, permitting requirements, utility approvals, equipment availability, and other project-specific factors. The physical installation itself may take only a day or several days, but the complete journey from your initial assessment to system activation involves several additional stages.
The process typically includes the initial property assessment, system design, financing, permitting, utility approval, installation, inspection, and final activation. Because every project and location is different, there isn’t one timeline that applies to every homeowner or business.
At Star Solar Energy Inc., we make the process easier by helping you navigate each stage rather than leaving you to figure everything out yourself. We start by understanding your property’s energy needs, then help develop a solar solution that fits your goals and explore financing options if you don’t want to cover the entire project cost upfront.
From there, we help coordinate the steps required to move your project from design to installation and ultimately toward activation. Our goal is to make going solar feel less complicated and give you a clear understanding of what is happening at every stage.
Whether you’re a homeowner looking to reduce your electricity costs, a business looking for greater control over energy expenses, or an organisation exploring a larger solar project, Star Solar Energy Inc. can help you explore your options from the first conversation through installation.
Ready to find out what solar could look like for your property?
Get your free solar assessment and start your journey with Star Solar Energy Inc.
One thought on “What Does the Solar Installation Process Look Like? From Assessment to Activation”